Setting up your Workspace
One of the easiest ways to improve your digital painting experience is to customize the workspace in your painting software. The workspace, simply put, is a collection of tools, panels, and menus that are displayed when you open the software. You can personalize it by adding and removing panels, customizing the tools that show in the panels, and by creating shortcuts for actions you commonly use.
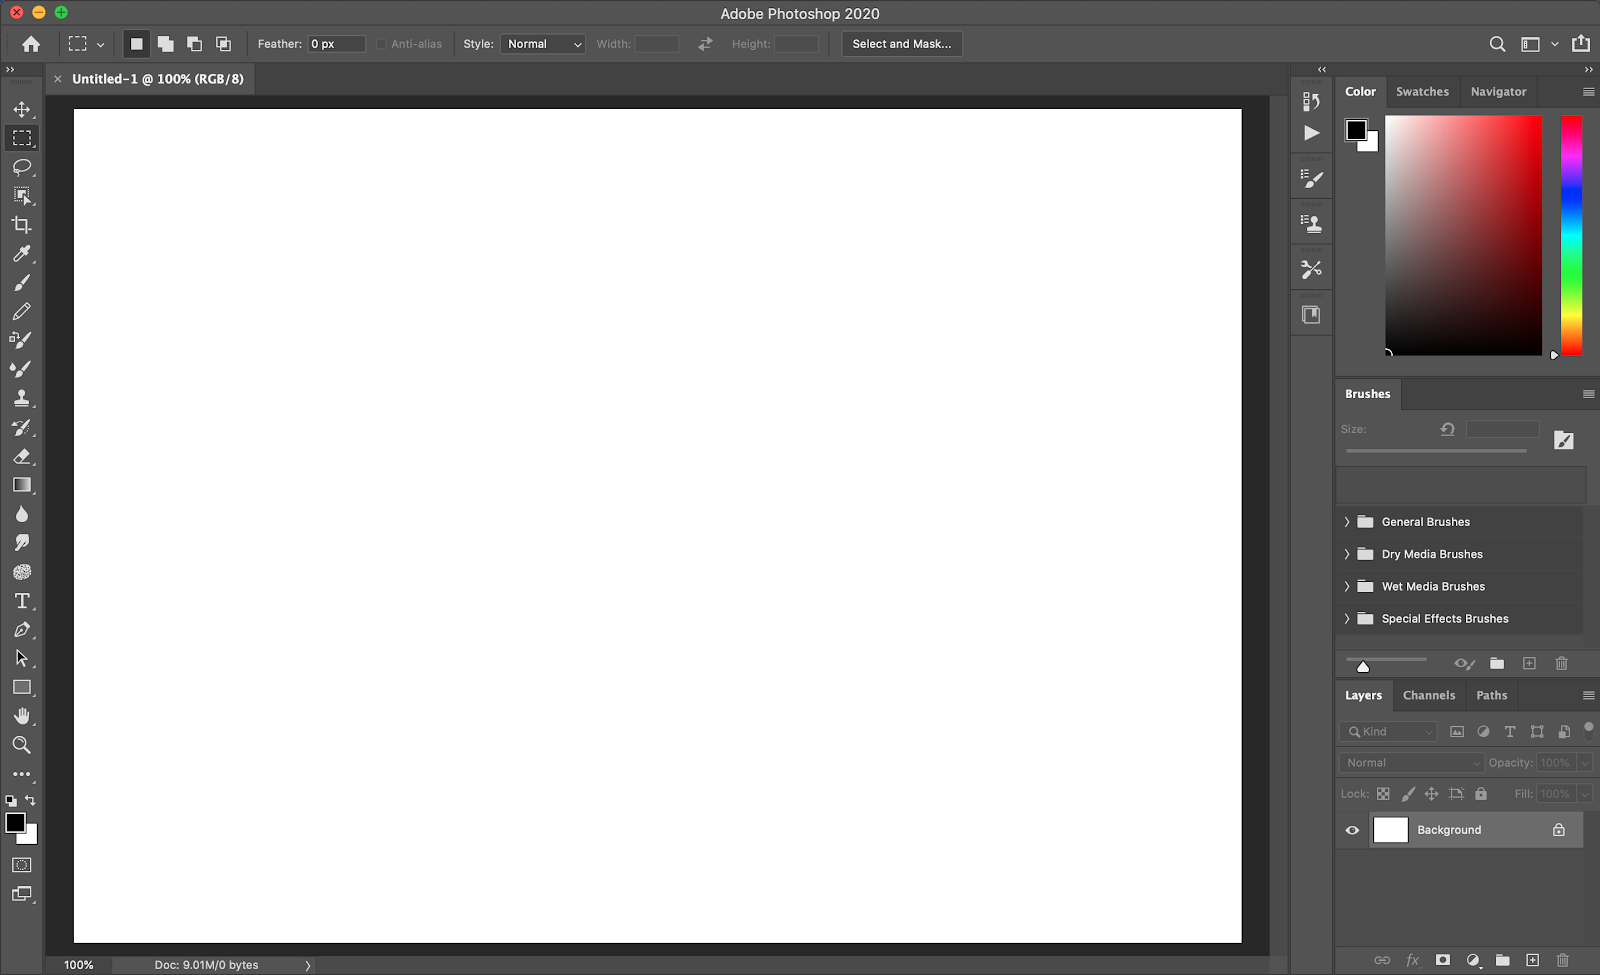
Here's the default workspace for Corel Painter 2019 and what it looks like when it's been customized for Digital Painting. I have quick and easy access to all the brushes I need (depending on the type/medium of painting I'm working on) and have shortcuts that save me a lot of time when I'm juggling a few dozen layers. Here I'm using a workspace created by Corel Painter Master Aaron Rutten, but you could (if you don't mind spending a few hours) also personalize it yourself.
My favorite parts of the workspace are:
Aaron's workspace also includes a bunch of special brushes he's created for his artwork. Here's a quick video from Aaron Rutten on what the workspace includes.
Here's the default workspace for Corel Painter 2019 and what it looks like when it's been customized for Digital Painting. I have quick and easy access to all the brushes I need (depending on the type/medium of painting I'm working on) and have shortcuts that save me a lot of time when I'm juggling a few dozen layers. Here I'm using a workspace created by Corel Painter Master Aaron Rutten, but you could (if you don't mind spending a few hours) also personalize it yourself.
 |
| Corel Painter 2019 Workspace |
- 'Search Brushes' widget: Have you ever tried to find a brush you've used before but don't recall which category it's under? Painter comes pre-loaded with tons of brushes plus you can download more or create ones yourself. This widget is super useful in letting you get to the brush you need within seconds.
- Layer shortcuts: One of the amazing parts of working digitally (apart from CTRL/CMD+Z) is you can work on layers and move/merge content as it starts looking the way you need it to be. The shortcuts panel in the bottom right is probably my most used part of the workflow.
- Papers & Flow Maps: This is something I had never tried before I watched Aaron's videos and was amazed at the difference a few tweaks can make to your brush strokes. Definitely something I'll use a lot more now that the settings are easily accessible.
Aaron's workspace also includes a bunch of special brushes he's created for his artwork. Here's a quick video from Aaron Rutten on what the workspace includes.
Comments
Post a Comment